CSV Files
The CSV Files feature in Whatsdash allows you to connect and visualize data from sources that are not covered by our standard integrations. This is crucial for incorporating proprietary metrics, sales data, historical spreadsheets, or any unique business information directly into your Whatsdash reports and dashboards.
By creating a CSV template, you define the structure of your custom data, making it a permanent and reusable source within the platform.
Overview
The CSV feature in Whatsdash allows you to:
-
Import Custom Data: Integrate data from a standard Comma Separated Values (.csv) file format.
-
Create Reusable Templates: Define a structure (columns, data types, formats) that can be reused for future data uploads.
-
Generate Dashboard Widgets: Use your custom CSV columns (Metrics and Dimensions) to build charts, tables, and scorecards on any Whatsdash dashboard.
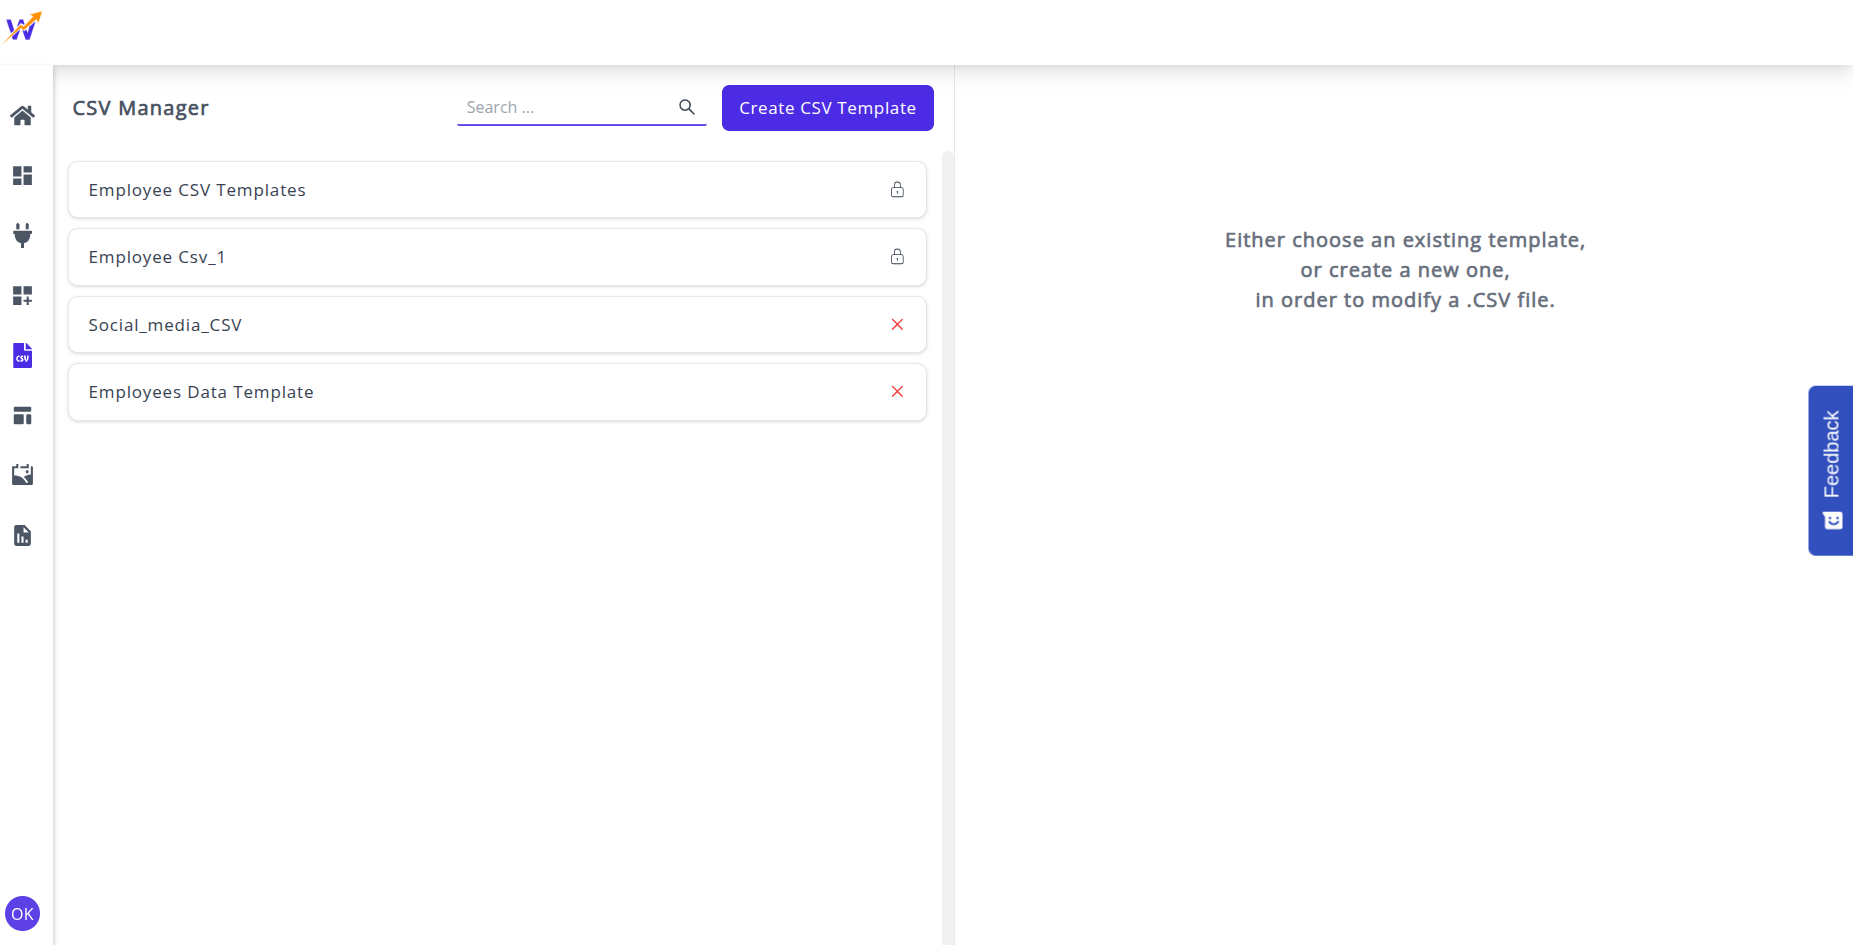
How to Add CSV Files

-
Navigate to the CSV Files in the Navigation Menu.
-
Click on any existing CSV Templates that has been created previously to edit them, or proceed to Step 3.
-
Click on the 'Create CSV Template' button to create a new CSV Template from an external CSV file.
-
A new 'Create CSV Template' screen appears. Here:

-
Browse and select CSV from your system. This file serves as the blueprint for the template structure.
-
Add a name for the template (e.g., "Monthly Sales Data"). This name will be used to identify the data source across the platform.
-
Map Data Fields: From the CSV headers or columns, specify the unique identifier, metrics (numerical values), dimensions (text/categorical values), and the date field.
-
The newly created CSV template appears in the list on the CSV Files screen and is now ready to be activated as an Integration.
How to Use CSV Files Templates
-
Once the template is created, you must connect it as a data source in Integrations to make the data available for all your dashboards.
-
Navigate to the Integrations in the Navigation bar.
-
From the list of the Integrations, choose the CSV Files connector.
-
Select the name of the template you just created . This action adds the CSV data source to your list of active integrations.
-
Once you connect the newly created data source in the Integrations, the data will be available to every dashboard, just like any other platform connector (e.g., Google Ads or Facebook). You can now select it when configuring widgets.
👉 For further details and advanced explanations on using CSV from integrations, refer to the CSV Integrations section.